Learn to make basic, fancy chocolate decorations with this easy decoration technique. You’ll be piping beautiful chocolate decorations in minutes!
Sometimes you just want a little extra something special to finish off your desserts. One of the quickest and easiest things to do is create some piped chocolate decorations to top your cakes, cupcakes, and loads of other desserts. The sky’s the limit! Let me show you just how easy this is.
How to Make Fancy Chocolate Decorations
First, you’ll need to gather your supplies. Here’s what you need:
- Chocolate (white, semi-sweet, or dark).
- A piping/decorating bag. In a pinch, you can use a plastic sandwich bag, but they are more frustrating to use. Just thought I’d warn you 🙂
- A piping/decorating tip. This is just a standard cake decorating tip with a small round hole at the bottom.
- Parchment paper to pipe your designs on. I love parchment paper so much. Just had to throw that in there 🙂
What Kind of Chocolate Should I Use for Piped Chocolate Decorations?
You can use almost any kind of chocolate. However, there are pros and cons to each type. You’ll want to know about these before you get started. Otherwise, you may be disappointed with the results.
White Chocolate

PROS: It is easy to work with and you don’t have to worry about it getting white spots.
CONS: None to speak of.
Chocolate Chips (like Nestle Semi-Sweet Chocolate Chips

PROS: Easily available, are a little thicker when melted and easier to work with.
CONS: Very quickly get white spots (this is called “bloom” in chocolate parlance) if not tempered. Also can look dull when cooled and hardened.
Wilton’s Candy Melts

PROS: Melt easily and don’t bloom. Stays smooth and glossy as it cools.
CONS: Are quite thin when melted and more difficult to work with. Flows quickly out of the decorating tip. Some flavors don’t taste very “chocolatey.”
What kind of chocolate do I recommend?
In the pictures for this post, I have used Wilton’s Candy Melts. They kept their nice, dark, glossy color and never became white or spotty, even after sitting out on my counter for several days. You do need to work kind of quickly because when melted, they are quite fluid. However, with a little practice, you can get the hang of it. You also may want to try a blend of Wilton’s Candy Melts and regular chocolate chips.
How to Temper Chocolate
Tempering chocolate is heating it to a certain temperature to create stable crystals within the chocolate. This will help the chocolate become glossy and prevent the dreaded “bloom” (white spots).
Honestly, I am too lazy to do this 🙂 That’s why I use the Wilton Candy Melts. But if you are not lazy and want to temper your white or dark chocolate chips, here are two resources that teach you how to do it:
Temper Without the Tantrum: Tempering White, Milk and Dark Chocolate
How to Temper Chocolate With This Easier Method
How to Make Fancy Chocolate Decorations
Now let’s get started!
How to Melt the Chocolate for Making Fancy Chocolate Decorations
The classic way to melt chocolate is in a double-boiler on the stove. However, I avoid this method for three reasons:
- I don’t have a double boiler
- I don’t want to “create” a double boiler.
- There is danger of water getting into your chocolate. If this happens, game over. Your chocolate will “seize” and will become unworkable.
Instead, I just melt my chocolate in the microwave on the “defrost” setting. I put the chocolate candy melts in a microwave-safe bowl and heat it for about thirty seconds on the defrost setting. Then I stir and heat it again in increments of 15 seconds, stopping to stir. Once the lumps are almost gone, remove it from the microwave and continue stirring until all the lumps disappear.
How to Easily Get the Melted Chocolate into Your Piping Bag
We’ve probably all faced the frustration of trying to get frosting into a piping bag without making a huge mess. There’s a simple method I use to combat this problem, and it works equally well with melted chocolate.
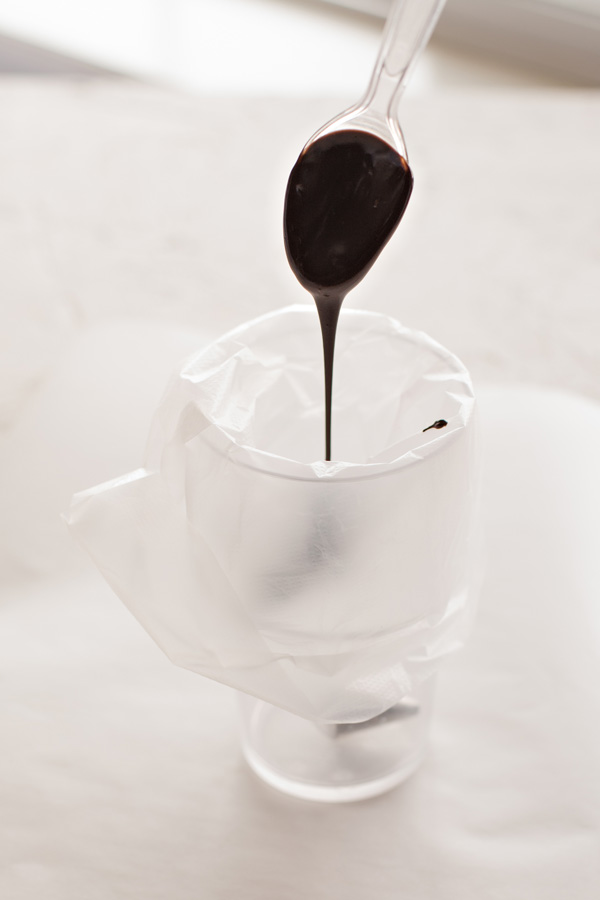
First, get a large cup.
Then place your piping tip inside your piping bag and cut a little hole at the bottom of the bag for your tip to stick out of (or attach your tip with your screw-on ring). Place the bag into the cup with the tip at the bottom. Now just fold the top of the bag inside-out over the top of the cup.
Now you can spoon or pour the chocolate into the bag. This keeps the top edges of the bag clean.
How to Pipe Chocolate Designs
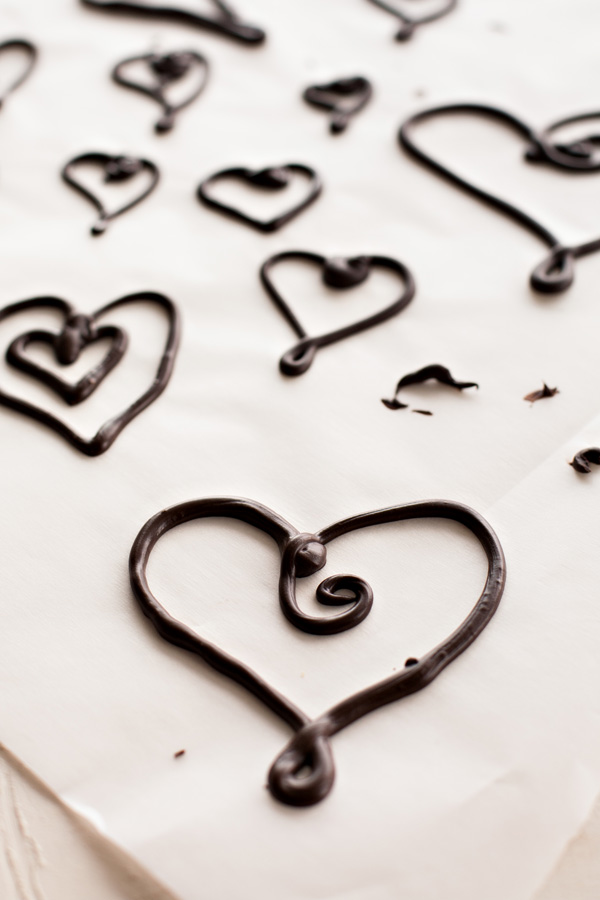
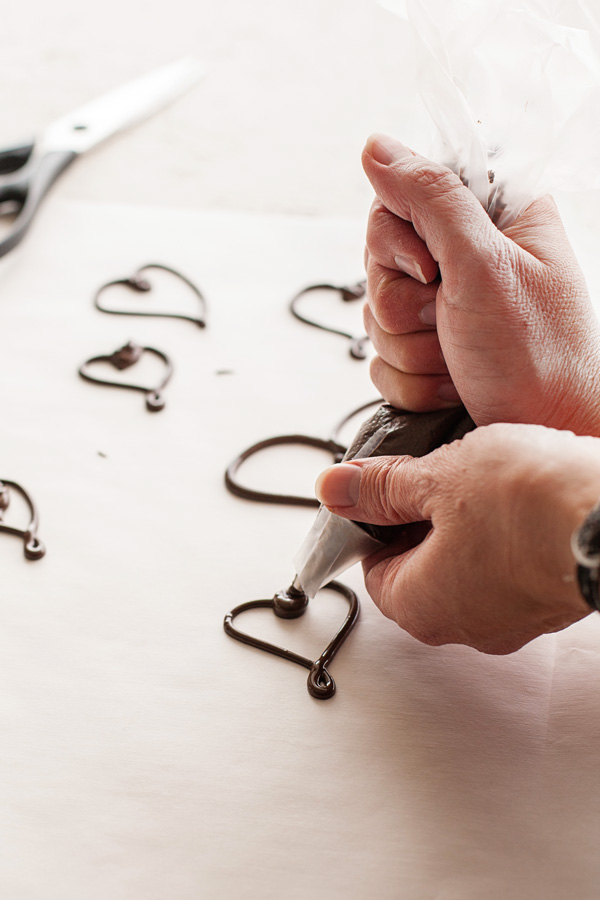
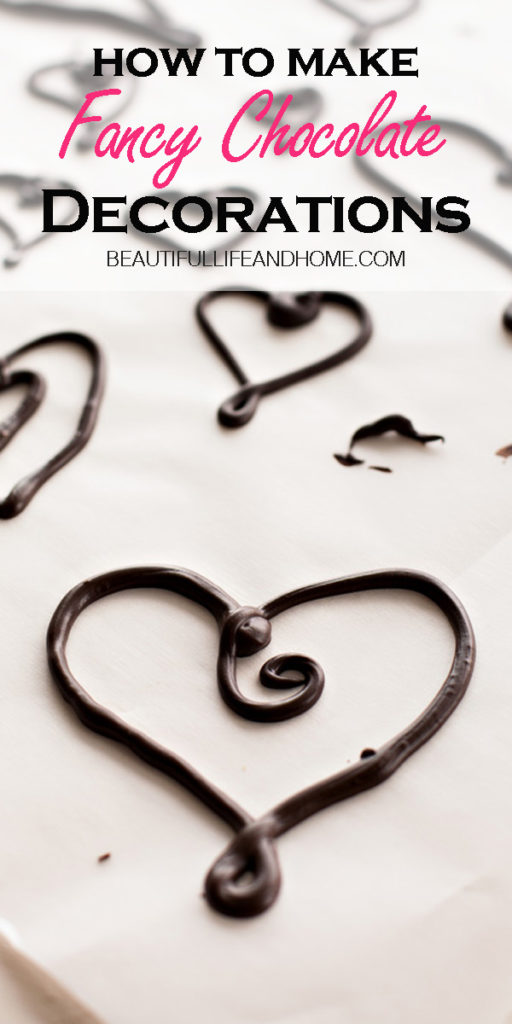
Now you’re ready to pipe your designs! If you want to be super fancy and precise, you can draw or trace designs onto your parchment paper and just squeeze the chocolate over the top. Or you can do like I did and just freestyle it.
Twist the top of your bag closed. Hold that closed with one hand while you guide the tip with your other hand. If your chocolate is really soft, you’ll need to move quickly.
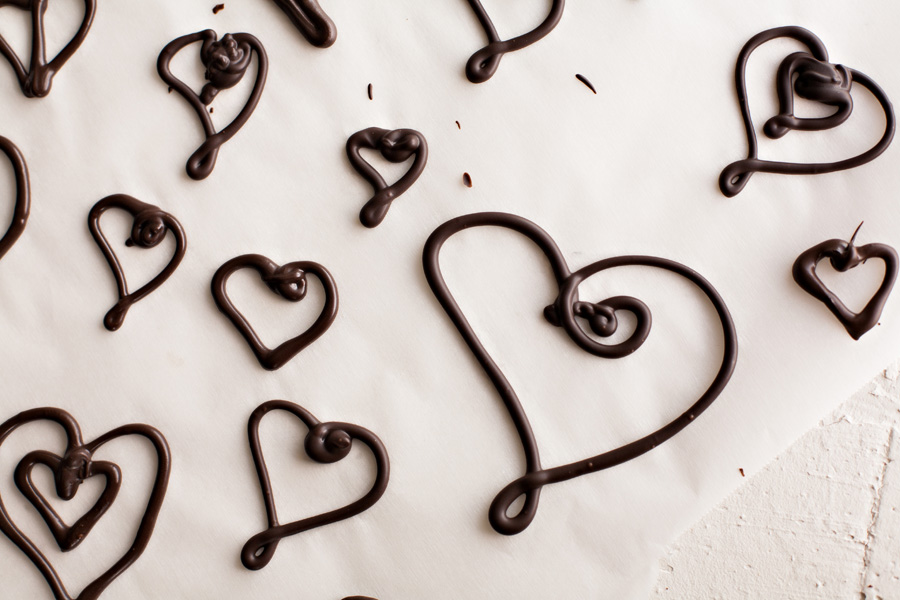
Now just let your chocolate sit at room temperature to cool and harden. I would not advise refrigerating your chocolate, especially if you haven’t tempered it. This can accelerate blooming.
Once your designs have hardened, you can remove them from the parchment paper and carefully place them on your desserts. Remember that these designs break easily, especially if you’ve used a really small decorating tip.
Handle the designs as little as possible with your hands, as your body heat will quickly begin the melt the chocolate and will make your designs look less attractive.
If you want to take things up a notch, you can try making these chocolate butterflies on We Lived Happily Ever After!
Good luck, and let me know if you have any questions!
(You can see there were some kind of wonky-looking hearts down there. It happens. No worries. Just eat them!
Today’s Freebie!

Pin me!
Great Tips! I am going to try these. I just finished making a french vailla three tiered caked with chocolate butter cream frosting. I was looking all over for some tips on how to design the top with dark chocolate designs. This post was perfect! I am sure my designs won’t look as good as yours though. lol Wish me luck! Thanks for sharing. Love your blog.
Wow! I would love to see your cake! It sounds amazing! I hope the designs worked out well for you!
How long (on average) will they take to harden?
Also I forgot to ask this in my last comment, sorry. If I use food coloring in my white chocolate will that change anything? Will it still be able to harden, will it cause the white chocolate to get white spots, etc? Thank you!
Hey Lily. If you’re making thin chocolate designs, they should harden pretty quickly–in 15-30 minutes. If you’re using food coloring in your white chocolate, I would DEFINITELY use gel coloring, and not the liquid kind. Get the gel coloring (like the Wilton brand) that comes in small containers that you just dip a toothpick in to get the coloring. Stay away from the tubes of gel coloring that you just squeeze. Hope that helps! Another option is to just buy the already colored chocolate “candy melts.” Wilton has many different colors to choose from. That way, you don’t have to worry about chocolate seizing or doing anything weird.