 Recently, I was contacted by OXO (an award-winning cooking tools and housewares company) to see if I would like to participate in their upcoming campaign. Um, yes! I LOVE OXO products and look for them every time I need a new kitchen tool. For this campaign, they sent me four of their amazing products and asked that I make Double Ginger Molasses Cookies from the upcoming cookbook, Dorie’s Cookies by Dorie Greenspan.
Can I just say that these cookies, with their unassuming name, are the most incredible ginger cookies you have ever had. They make it on my list of Top Ten Best Cookies of All Time. If I were to re-name these cookies, I would call them Chocolate Ginger Smacks, because they smack you over the head with their incredible ginger flavor. I could NOT stop eating these cookies!
Before we get to the recipe, let’s take a look at the cool products I used to make them.
This first tool is so amazing and just proves once again how much thought and care OXO puts into their products. You can really tell that there was a team of designers who thought of every innovation they could incorporate into this (and all their other) products.
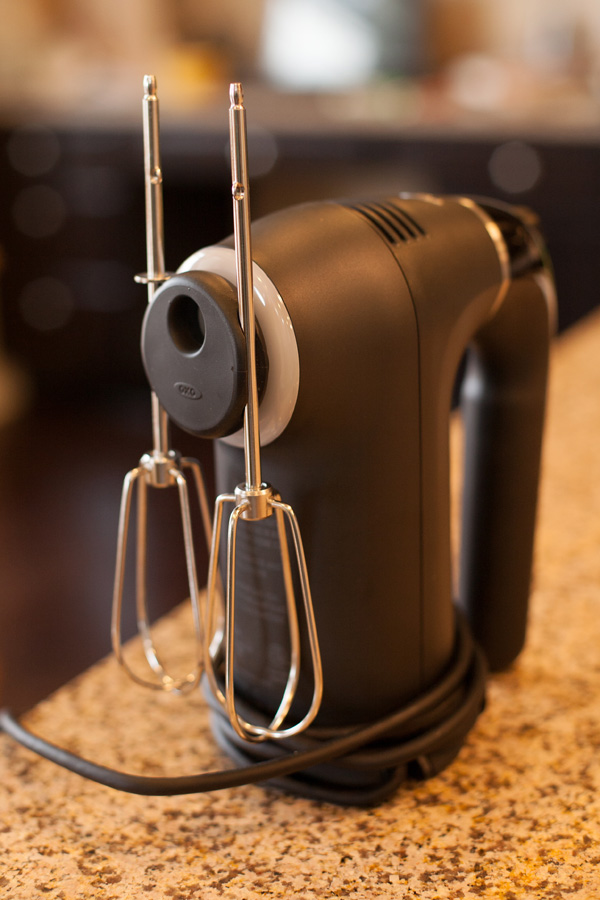
It is the Illuminating Digital Hand Mixer. Oh my gosh, you guys. Take a look at these features:
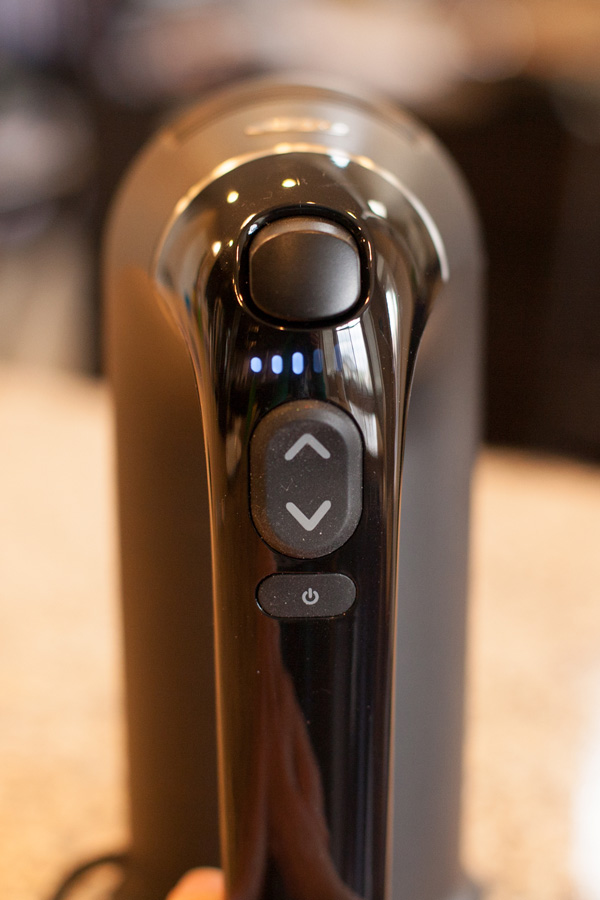
This mixer has completely digital controls. You just press the up or down arrow and the blue lights above tell you your speed. You can do this while you are mixing with one hand. On mixers I have used in the past, there is a switch you have to control with another hand, and sometimes the switch suddenly moves too far and then things mix too quickly (and/or fly out of the bowl).
Now here’s where the really cool stuff comes in:
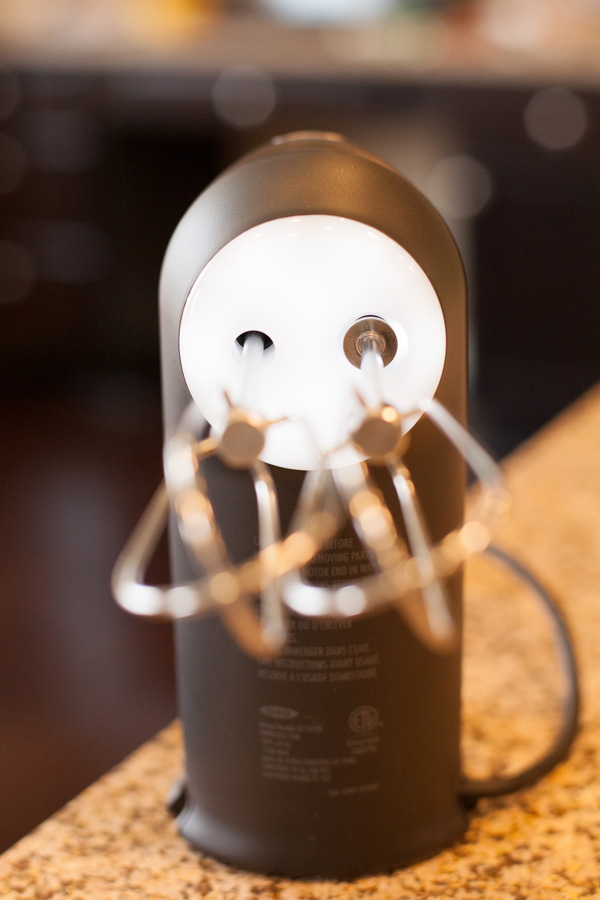
You’re looking at the front of the mixer. That’s an LED light that comes on when you start mixing. It illuminates everything in your bowl so you can easily see what you are mixing and if there are any lumps left. At first, I thought, “Why would I need a light on my mixer?” Now I think, “Why didn’t somebody think of this sooner?” It is amazing what a difference this light makes.
Next cool feature and the one I probably like best:
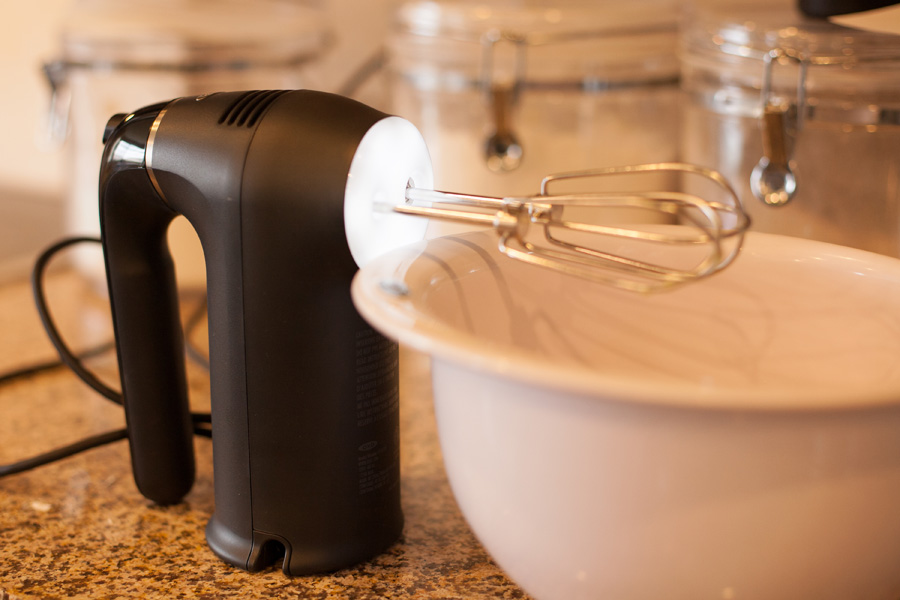
It stands up. I know that seems un-impressive, but I want you to think of every other hand mixer you’ve ever owned. How many times have you had to hang the beaters over the edge of the bowl while the mixer is precariously perched at an angle? You just hope that the weight of the mixer won’t cause it to fall sideways or backwards, spilling the contents of your bowl. Again, why didn’t anybody think of this before? Seriously, this one feature alone would be enough to get me buy this mixer.
And just to prove that they REALLY thought this thing out, there is a rubber beater clip you can insert on the front that holds your beaters. AND, this mixer lets you switch the direction the cord comes out of the bottom depending on if you are right-handed or left-handed! They thought of EVERYTHING!
Can you tell I am utterly in love with this mixer? (By the way, OXO isn’t paying me any money to say any of this stuff. I just seriously love it all).
The other three things they sent me to make these cookies were the Medium Silicone Spatula, Medium Cookie Scoop, and Non-Stick Pro 12 Cup Muffin Pan.
First, let’s take a look at the spatula and muffin pan. (Yes, we’re going to make cookies in a muffin pan. Just stick with me here, because they are amazing).
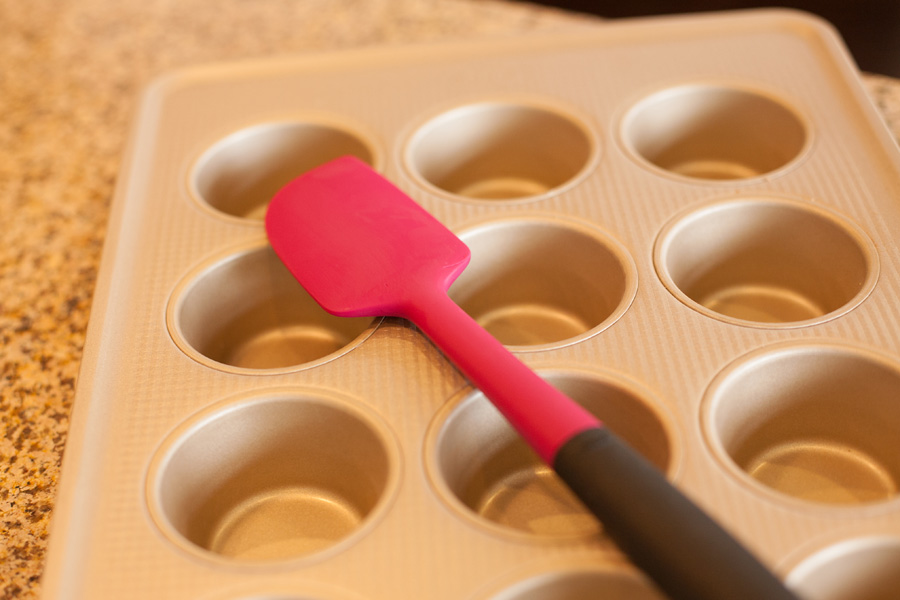
The spatula has a great rubber grip on the handle so you can use it even if your hands are wet. The scraper is the perfect thickness and stiffness. It is not like using a stick to scrape your bowl, nor like using a floppy noodle. It got every last bit of cookie dough out of the mixing bowl.
This muffin tin is great because it is made with a ceramic-reinforced, two-layer, commercial-grade coating that provides ultimate non-stick release and is scratch-, stain-, corrosion- and abrasion-resistant. It also has a unique micro-textured pattern that ensures even baking. But the thing I like best about it is that it has wide edges for easy removal from the oven. Seriously, how many times have you tried to remove muffins or cupcakes from the oven and your oven mitt has no choice but to partially smash the cupcakes on the ends as you take the pan from the oven? With this pan, there is ample room to get a safe grip on the pan and not smash anything.
Lastly, I was sent the Medium Cookie Scoop. I love cookie scoops, so much. When I was a kid, we always used to just use a teaspoon to scoop up dough and then use our fingers to push the dough onto the cookie sheet. Well, here’s something you should know about me: I hate getting my fingers sticky. Enter the celebrated cookie scoop. Not only can I get perfectly shaped cookies, but my hands stay clean.
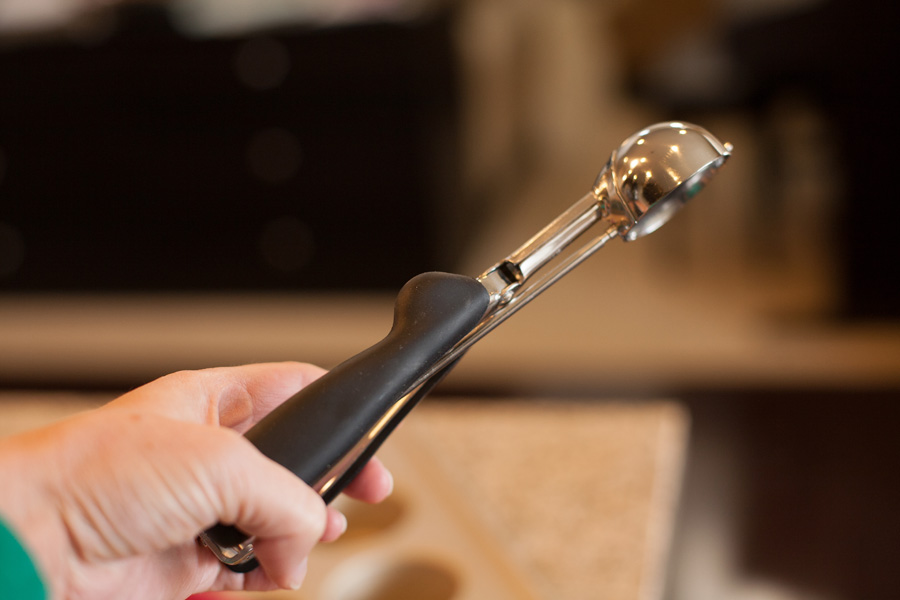
Like other OXO products, it has rubber grips so that your hands won’t slip, even when wet (or sticky).
Now let’s get to making these cookies, shall we? The instructions with these cookies say that you can cook them like normal cookies, or put the dough in the muffin tins. I tried it both ways, and each has its merits, which I will discuss. (Sorry for being all formal here. These cookies deserve special treatment).
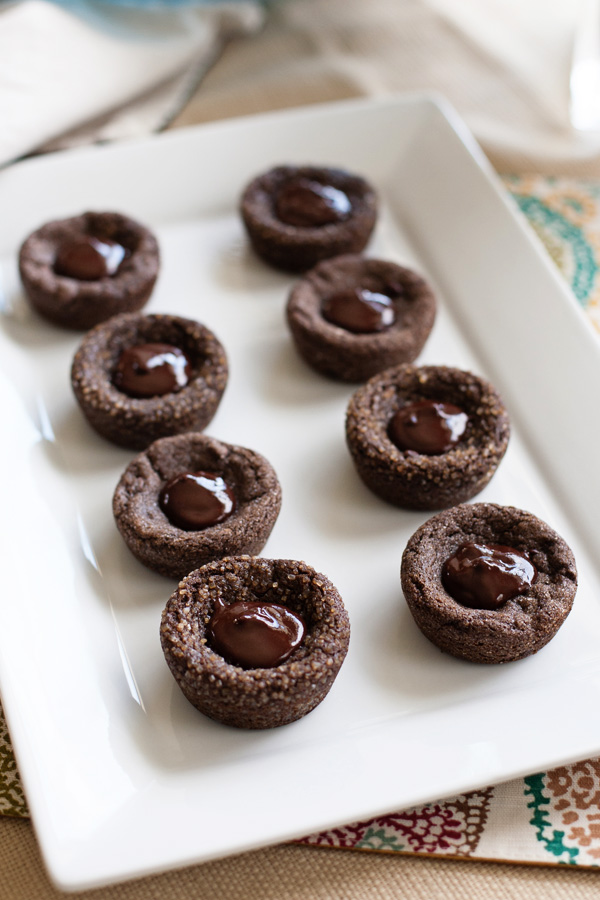
Using the Medium Cookie Scoop, I made perfect balls of dough which I then rolled in sugar. I tried both regular granulated sugar, and then turbinado sugar, just for fun. (Turbinado sugar is raw sugar with very large crystals). After putting them in the pan, I smashed them slightly with the bottom of a cup. I sprinkled a little extra sugar on top, just for good measure.
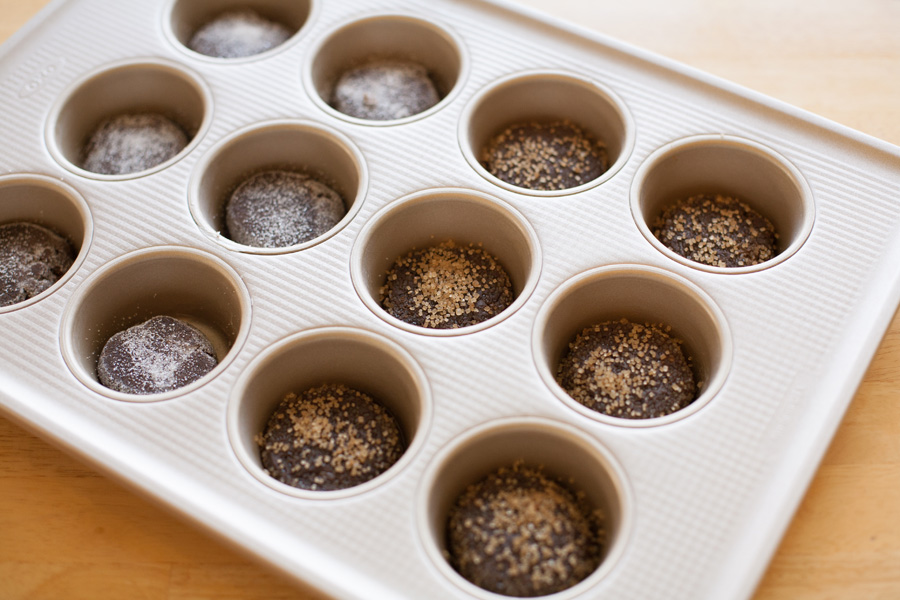
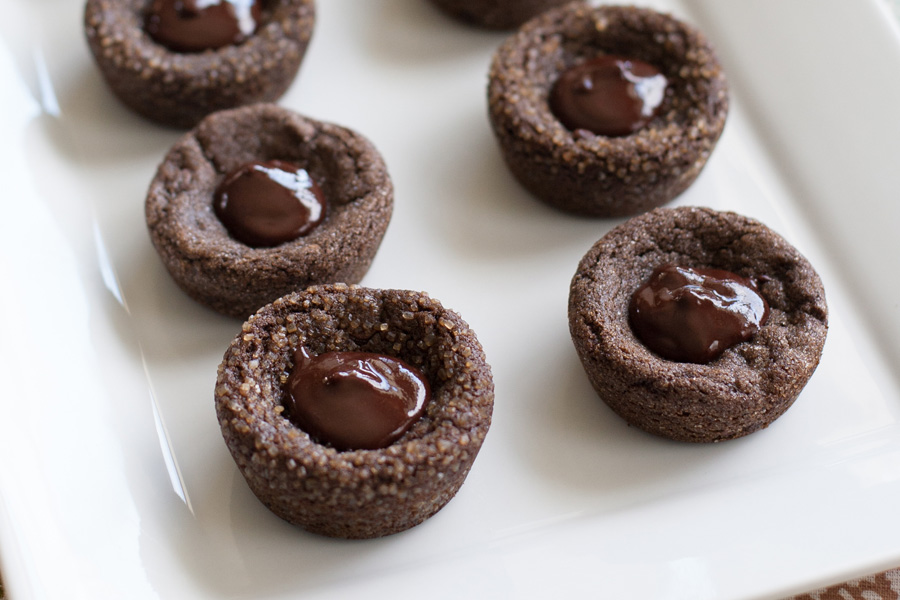
Then I baked them (obviously). After taking them out of the oven and letting them cool, I added some chocolate ganache to the center. Oh my gosh, don’t these look AMAZING? Yes. Yes they do.
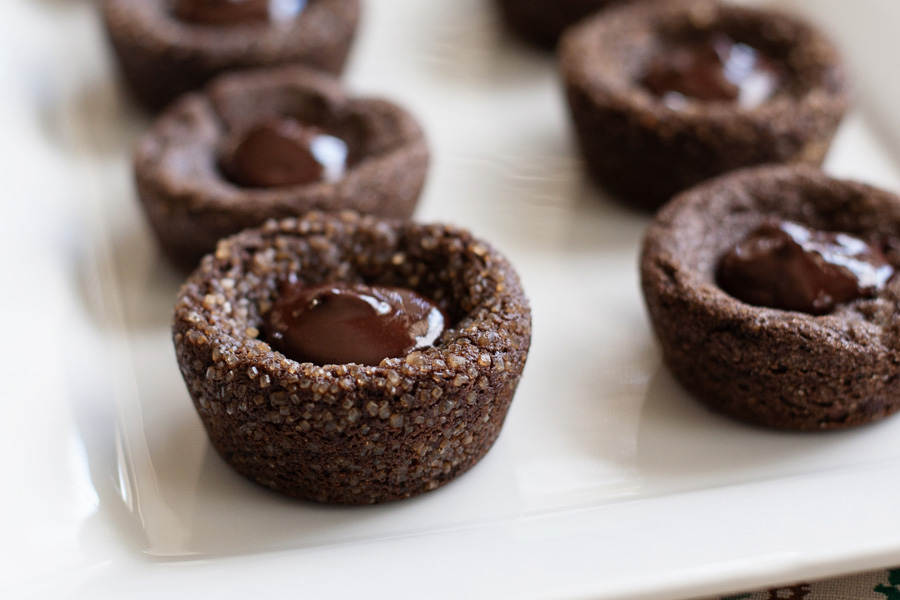
I LOVED how these turned out in the muffin tin. They were so thick and soft and made for an incredible presentation. When my daughter ate one, she said, “It tastes like Christmas!” You only need one of these to finish off a fancy meal. They are so rich and flavorful that you feel immediately satisfied.
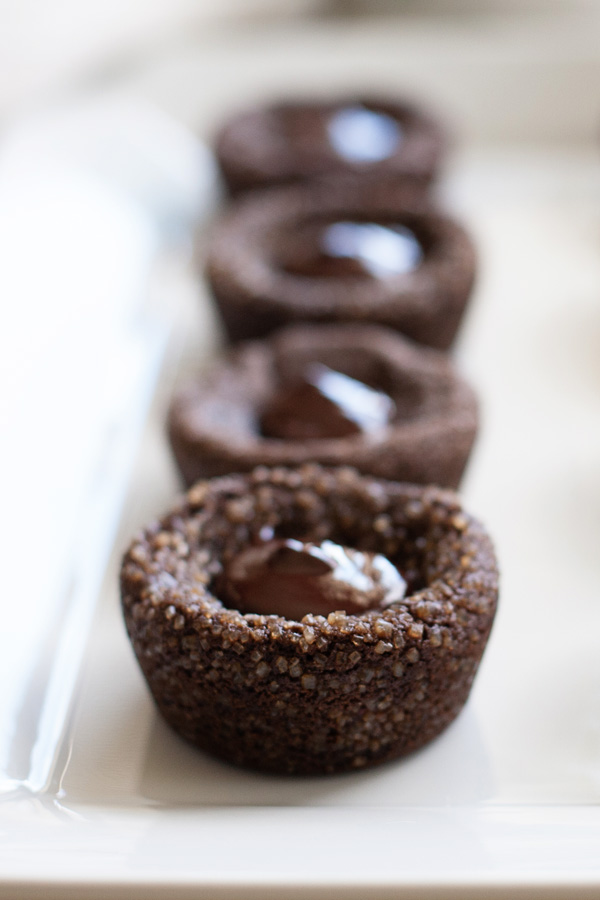
Let’s see a couple more pictures, just to appreciate their beauty:
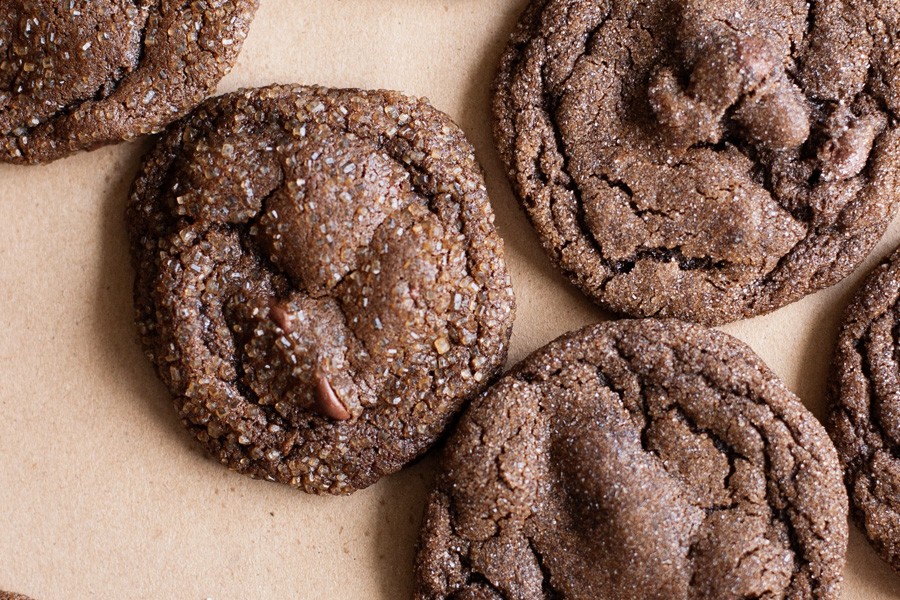
I also made these cookies the more traditional way. These are great for cookie exchanges or just to eat incessantly because you can’t stop. They are the perfect texture, with slightly crisp edges and soft centers.
Before I get to the recipe, I want to talk a wee bit about why these cookies taste so amazing. It comes down to two things: chocolate, and ginger. This recipe uses chocolate powder and chocolate chips (which I would have never thought to use with ginger cookies). But it also uses crystalized ginger, or real, fresh ginger (in case you can’t find crystalized). I chose to use the fresh minced ginger, and boy, did it pack a punch! I LOVED it!
You will love these cookies, guaranteed. And if you want to pre-order the cookbook that have these cookies (and loads of other equally amazing ones,) you can get Dorie’s Cookies![]() on Amazon. (This is an affiliate link). Scroll clear to the bottom for a pinnable image.
on Amazon. (This is an affiliate link). Scroll clear to the bottom for a pinnable image.
(This recipe and instructions are included verbatim as sent by OXO).
Double-Ginger Molasses Cookies
Recipe from Dorie’s Cookies by Dorie Greenspan
I have my friend Christine Beck, who is, like me, a Paris part-timer, to thank for this recipe.
The cookies belong to the chewy-molasses-cookie family, but they have so much flavor and so many surprises that they transcend the familiar. For starters, there’s both crystallized ginger and powdered ginger, lots of chopped dark chocolate and an optional bit of instant espresso too, which I tacked onto the recipe because I’m an incorrigible tinkerer.
I also tinkered with the way these are baked. Classic molasses cookies are scooped, molded into balls, rolled in sugar and then pressed with a fork before baking, and you can make these cookies that way. Or you can do what I do: Mold them in muffin tins, which turn out more uniformly shaped cookies that teeter on the brink of becoming gingerbread cakes.
A word on crystallized ginger: Crystallized, or candied, ginger is sliced fresh ginger that is cooked in syrup, dredged in sugar and dried. You can usually find it in the supermarket alongside other dried fruits or in the spice section. If the ginger isn’t moist and pliable, steam it before using: Put it in a strainer over a saucepan of simmering water, cover and let warm and soften for about 5 minutes; pat dry, chop and use. If you can’t find crystallized ginger, you can omit it or mix 2 tablespoons minced fresh ginger with 2 teaspoons sugar and let stand for about 10 minutes, until the ginger is syrupy.
Makes about 36 cookies
2¼ cups (306 grams) all-purpose flour
2 tablespoons unsweetened cocoa powder
1 to 2 teaspoons instant espresso, to taste (optional)
1½ teaspoons ground ginger
1 teaspoon ground cinnamon
¼ teaspoon ground cloves
½ teaspoon baking soda
½ teaspoon fine sea salt
1½ sticks (12 tablespoons; 6 ounces; 170 grams) unsalted butter, cut into chunks, at room temperature
1⁄3 cup (67 grams) sugar
1⁄3 cup (67 grams) packed light brown sugar
1 large egg yolk, at room temperature
½ cup (120 ml) unsulfured molasses
1½ teaspoons pure vanilla extract
1⁄3 cup (55 grams) chopped crystallized ginger or 2 tablespoons minced fresh ginger mixed with 2 teaspoons sugar (see headnote)
7 ounces (200 grams) semisweet or bittersweet chocolate, chopped chip-size
Sugar, for rolling
Whisk the flour, cocoa, espresso (if using), spices, baking soda and salt together. Working with a stand mixer fitted with the paddle attachment, or in a large bowl with a hand mixer, beat the butter and both sugars together on medium-low speed for about 3 minutes, scraping the bowl as needed, until fully blended. Add the yolk and beat for 1 minute, then add the molasses and vanilla, beating until smooth. Turn off the mixer, add the dry ingredients all at once and pulse the mixer until the risk of flying flour passes. Working on low speed, mix the dough until the flour is almost but not completely incorporated. Add the crystallized ginger (or the sugared fresh ginger) and chocolate and mix until the dry ingredients disappear into the dough and the ginger and chocolate are evenly distributed. If you’ve got bits of dry ingredients on the bottom of the bowl, mix them in with a flexible spatula.
Gather the dough into a ball, flatten it and wrap it in plastic. Refrigerate for at least 2 hours. (As a personal note from Melissa: if you refrigerate these cookies for a long time, like overnight, you will need to let them soften a bit on the counter–about half an hour–before scooping).
Getting ready to bake: Position the racks to divide the oven into thirds and preheat it to 350 degrees F. Butter or spray regular muffin tins or, if making free-form cookies, line two baking sheets with parchment paper or silicone baking mats.
Have a medium cookie scoop at hand. Alternatively, you can use a rounded tablespoonful of dough for each cookie. If you’re using tins, find a jar or glass that fits into them and can be used to flatten the dough; cover the bottom in plastic wrap. Spoon some sugar into a wide shallow bowl.
For each cookie, mold a scoop or spoonful of dough into a ball between your palms, then turn it in the sugar to coat and put in a muffin cup or on a baking sheet, leaving 2 inches between each ball of dough. If using tins, use the jar or glass to flatten each ball until it almost reaches the sides of the cup. If it’s free- form, press to flatten to about 1⁄2 inch thick.
Bake the cookies for about 13 minutes, rotating the tins or sheets top to bottom and front to back after 7 minutes. The cookies should be lightly set around the edges and softer in the center. Transfer the tins or sheets to racks and let the cookies rest for 15 minutes before unmolding them and/or placing them on racks to cool completely.
If you’re baking in batches, make certain to start with cool tins or baking sheets.
Playing Around
Ginger-Chocolate Ganache.
To make a ganache that you can use to finish the cookies, bring 2⁄3 cup heavy cream and four 1⁄4-inch-thick slices of fresh ginger to a boil in a small saucepan. Turn off the heat, cover the pan and allow the cream to infuse for 20 minutes. Return the cream to the boil, then remove the ginger and pour half of the cream over 6 ounces finely chopped bittersweet chocolate. Wait for 30 seconds, stir gently and then stir in the remainder of the cream. Dip the top or one side of each cookie in the chocolate and place on a parchment-lined baking sheet. Chill for 20 minutes to set the chocolate. Bring the cookies to room temperature before serving.
Storing
You can refrigerate the dough for up to 3 days. You can also scoop out the dough, shape into balls and freeze the balls on baking sheets; when they’re firm, pack them airtight and keep frozen for up to 2 months. Remove the dough from the freezer and let the balls sit at room temperature for at least 15 minutes, then roll in sugar and bake. The baked cookies can be kept in a sealed container at room temperature for up to 4 days. They’ll get a little drier and a little less chewy, but that will make them even better for dunking.
Pin me!


Leave a Reply